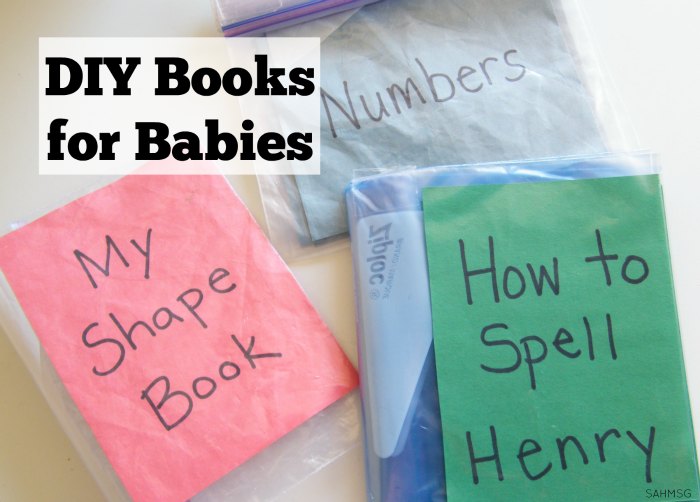
Creating DIY books for babies is a simple way to introduce babies and toddlers to reading and books while creating an infant activity they can play with for months and years.
I made DIY books for my oldest daughter (baby #2) when she was less than a year old and we still have the book I made for her 4 years later! They are pretty sturdy , but you should always supervise. Reading to our children is a simple way to instill the love of learning in our kids.
From birth, babies can listen to books. At first, short books are great so your baby can hear language and you both get bonding time cuddling together. As your infant grows and can hold books and focus on bold images, you can start reading simple board books with one picture and word per page. These are so great for younger toddlers too!
I have always read regular children’s books to my kids even when they were infants. All 4 have really good attention spans when it comes to books now, but often older infants, toddlers and even younger preschool kids will have shorter attention spans. You can read about this in my posts Crash Course in Child Development all about Toddlers or Preschoolers.
These DIY books for babies are really easy, you can make a variety of colors and subject matter, and once you get the process down, I bet you will find a lot of ways to incorporate personalized book ideas with your child’s name and family pictures too.
DIY Books for Babies and Toddlers
Supplies:
Zip top bags (I use Ziploc® from Target or WalMart)
WalMart coupons @ ShopAtHome.com
Make the books:
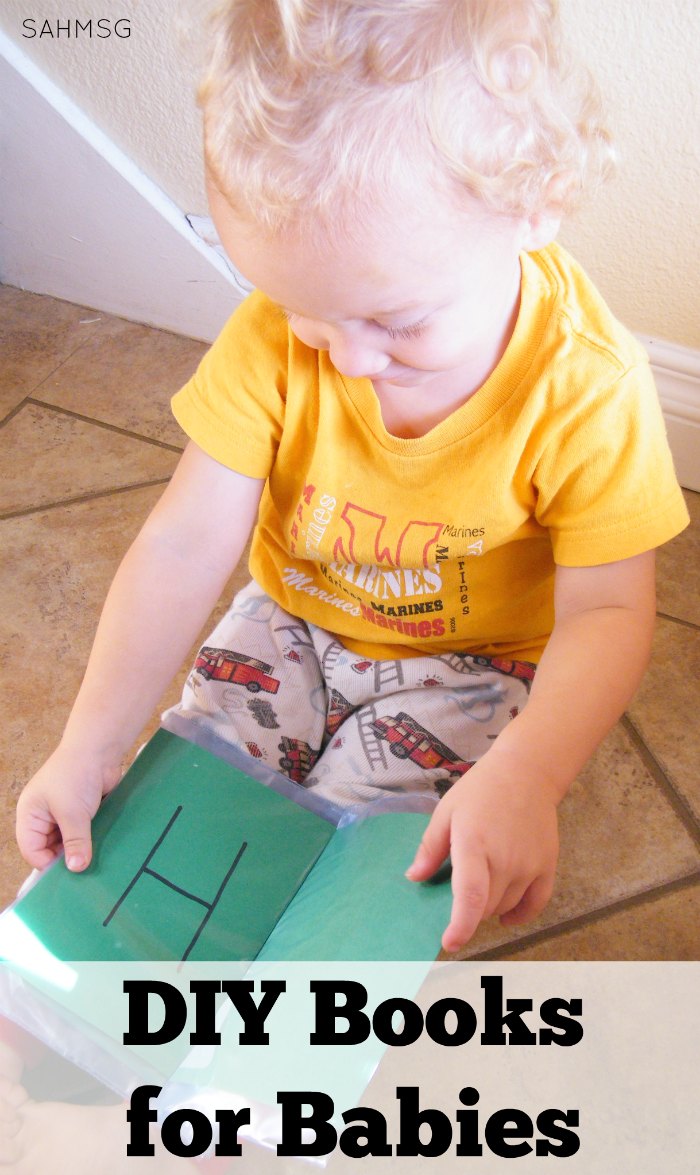
First step is to decide what you would like on each page of your book. I made a shape book, a book with the letters of my child’s name, and a book with numbers. The shape book pages look like this, but I will share the steps to put a complete book together below.
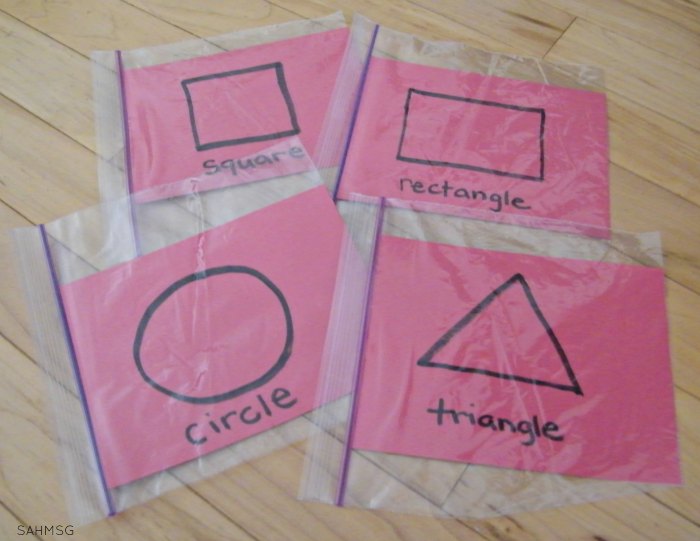
In this post, I will go through the steps to make a book that teaches a child how to spell their name. It coordinates with my name spelling song that is fun to sing to infants, toddlers or preschoolers! (I love it for getting my wiggly infants and toddlers to lay still during a diaper change!)
Target Daily Deals @ShopAtHome.com
How To Make a DIY Book for Babies with Their Name
Step 1) Cut a piece of construction paper into 4 parts. You can fold it lengthwise then width-wise, unfold it and use the fold lines to guide your cutting.

Step 2) Choose the page order, and create a cover.
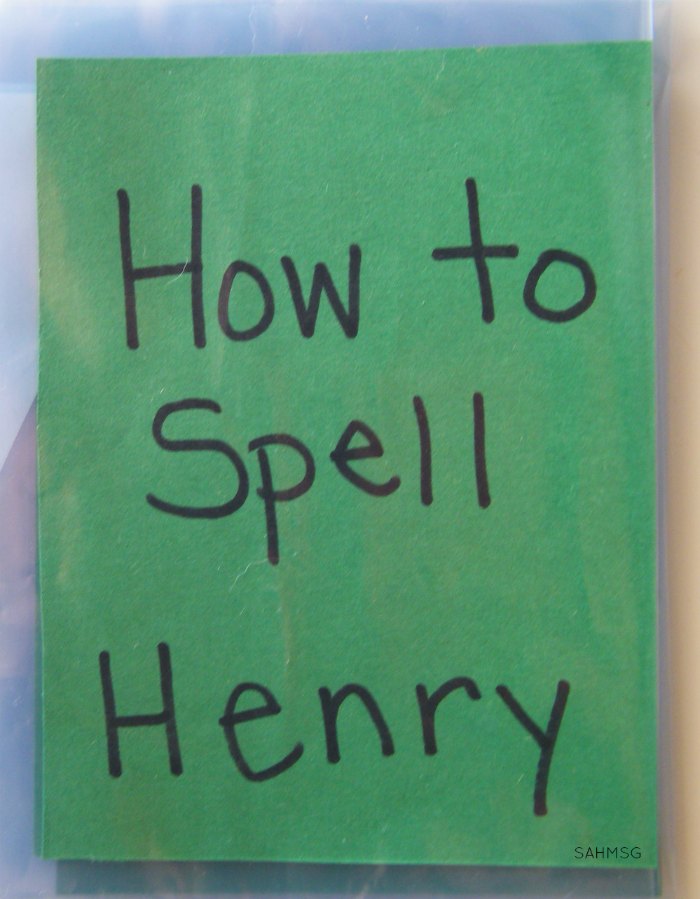
I wrote “How to Spell Henry” as the title for the book I made for my twin son. You can use that as a guide and write your child’s name or create your own title. Then flip the cover page over and write the first letter of your child’s name on the back.
Step 3) Write the rest of the letters (one per page) flipping the pieces of paper to write one letter on the front and one letter on the back until you have all the letters written on the paper. You may need to cut an additional piece of paper to add more pages.
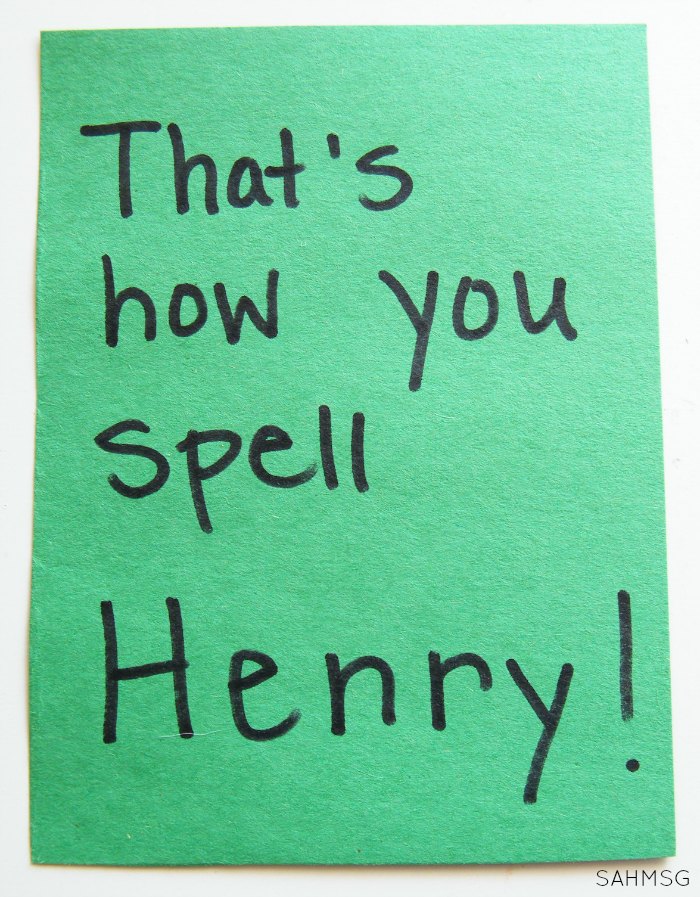
Step 4) On the last page, write “That’s how you spell [write child’s name]” if you like. (This is a line from the Name Spelling song.)
Step 5) Lay out the Ziploc® bags with the zipper side to the left.
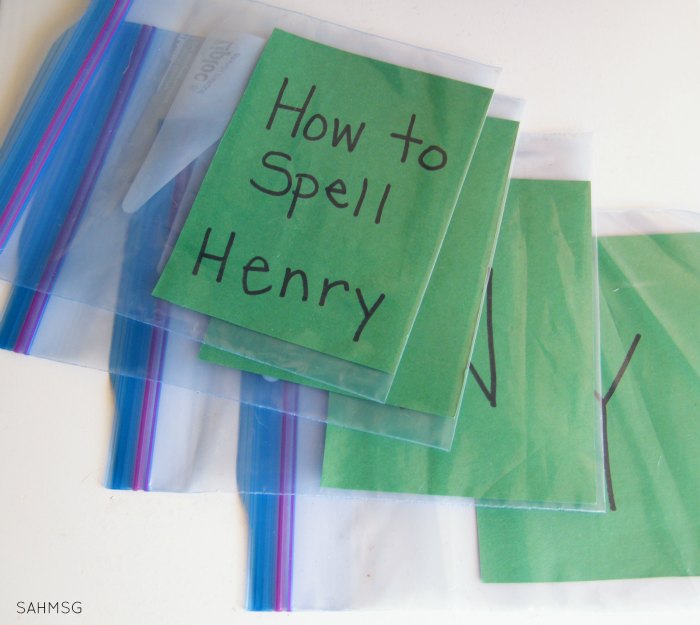
Step 6) Open a zipper bag and insert the cover page for your DIY book then close the zipper.
Step 7) Continue filling the bags until each page is in a bag and facing the correct way.
Step 8) Lay all of the bags in order with the zipper on the left.
Step 10) Tear off (1) 4-inch long piece of packing tape and set it aside.
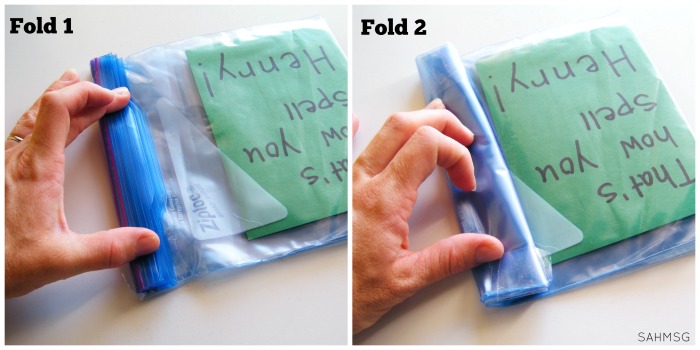
Step 11) Fold over the zippers (all together) twice (as the photo above shows) and then tape down the zipper flap. (This creates the bind of your book.) The pictures show the bind folded towards the back. After trying two ways, it looks nicer to fold the zippers to the front and tape them down. Find out what you prefer!
Time to show baby and read together.
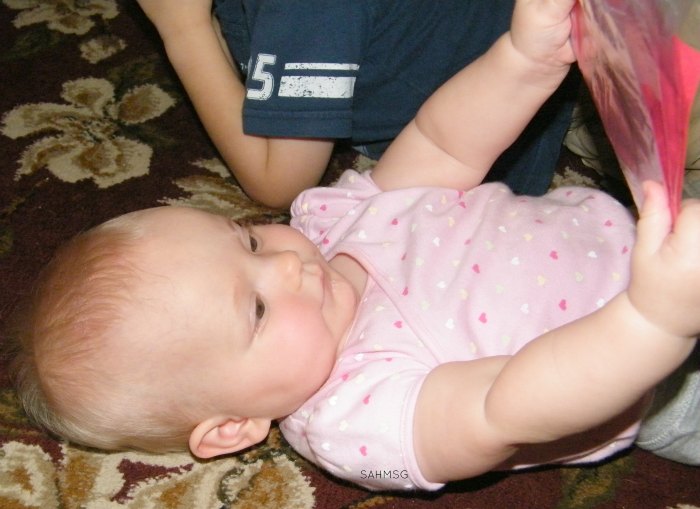
My oldest daughter really liked looking through the pages of her DIY shape book and numbers book. This photo is her when she was only 7 months old-she is now almost 5! It’s fun to re-create these activities for my younger ones now.
The twins have name-spelling books and still have their big sister’s books I made years ago.
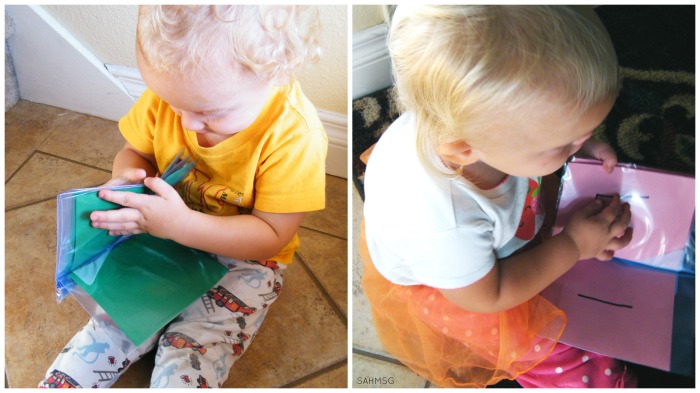
Caution: This is plastic and pieces of tape that could come apart. That is obviously a choking hazard. I have not had an issue with these books causing problems for my children, although I did have the bind of one book pop open, but that was because I had not taped it as well as I share in the steps above. I gave these books to my children when they were sitting up-or able to-on their own and have always been present to be sure they are safe and not biting the bags. Always supervise babies and toddlers. 🙂
I have to tell you, I was at a friends’ house shortly after I originally shared this activity (in much less detail) on the toddler activities page. She made the book for her then-toddler. It is awesome to see an activity I shared in the homes of friends! So fun!!
If you do not like the taping involved in this little DIY book for babies, Jenae at I Can Teach My Child has a sewn version of the Ziploc bag books. She actually sews Ziploc bags together to make a book. Her version is very pretty! What a great idea to jazz it up like Jenae does.
You can even make these books with family photos and the names of family members similar to how I made these DIY photo blocks for babies, or visit the zoo and use pictures of the animals to learn the animal names. There are so many possibilities.
What will you put in your DIY book for babies and toddlers?
For more learning activities that take very few “crafty skills” to create for your child, visit the toddler activities page for tons of ways to maximize your time at home with your child!

Every time I tape mine together my toddler finds a way to undo it! Any suggestions?!
I first staple them together then tape over the staples (so no-one gets hurt)… helps keep everything together much better. Hope this helps.
Thanks Jaimi for this idea! My babies love them.
Cassie
all the way from South Africa 🙂
Smart tip, Cassie. Thanks for sharing!
Thanks for sharing.. i was looking for a way to make a simple photo album DIY for my baby and saw this post… i will definitely try it
I’m so glad the idea will be helpful! Have fun. 🙂
Thanks for sharing. I love this idea. So simple to do!! 🙂
I am so glad you think so! 🙂
How adorable. What a clever idea. Thanks for sharing!
I appreciate that, Ali! Thanks for stopping by.