
This post contains affiliate links. Please view my disclosure.
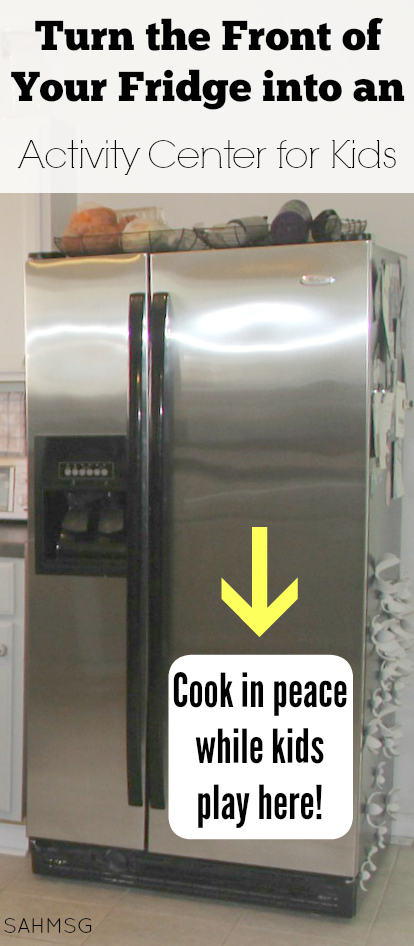
Dinner time in our house is a bit hectic. I often have the twins pulling at my legs while trying to navigate my way through main dish, sides and filling up milk cups. It can get tricky (and a bit overwhelming) when everyone is so hungry that calm seems to be lost. I needed a way to distract the kids in the kitchen if they were not going to leave the kitchen while I was in the middle of dinner prep time. My solution: a flexible, lightweight magnetic felt board that is a simple DIY toy for kids. (And sanity saver for moms!)
I let my kids help with dinner when it is safe and appropriate, but at times I need to do it on my own. Here are the steps if you would like to make a felt board that can stick on any magnetic surface.
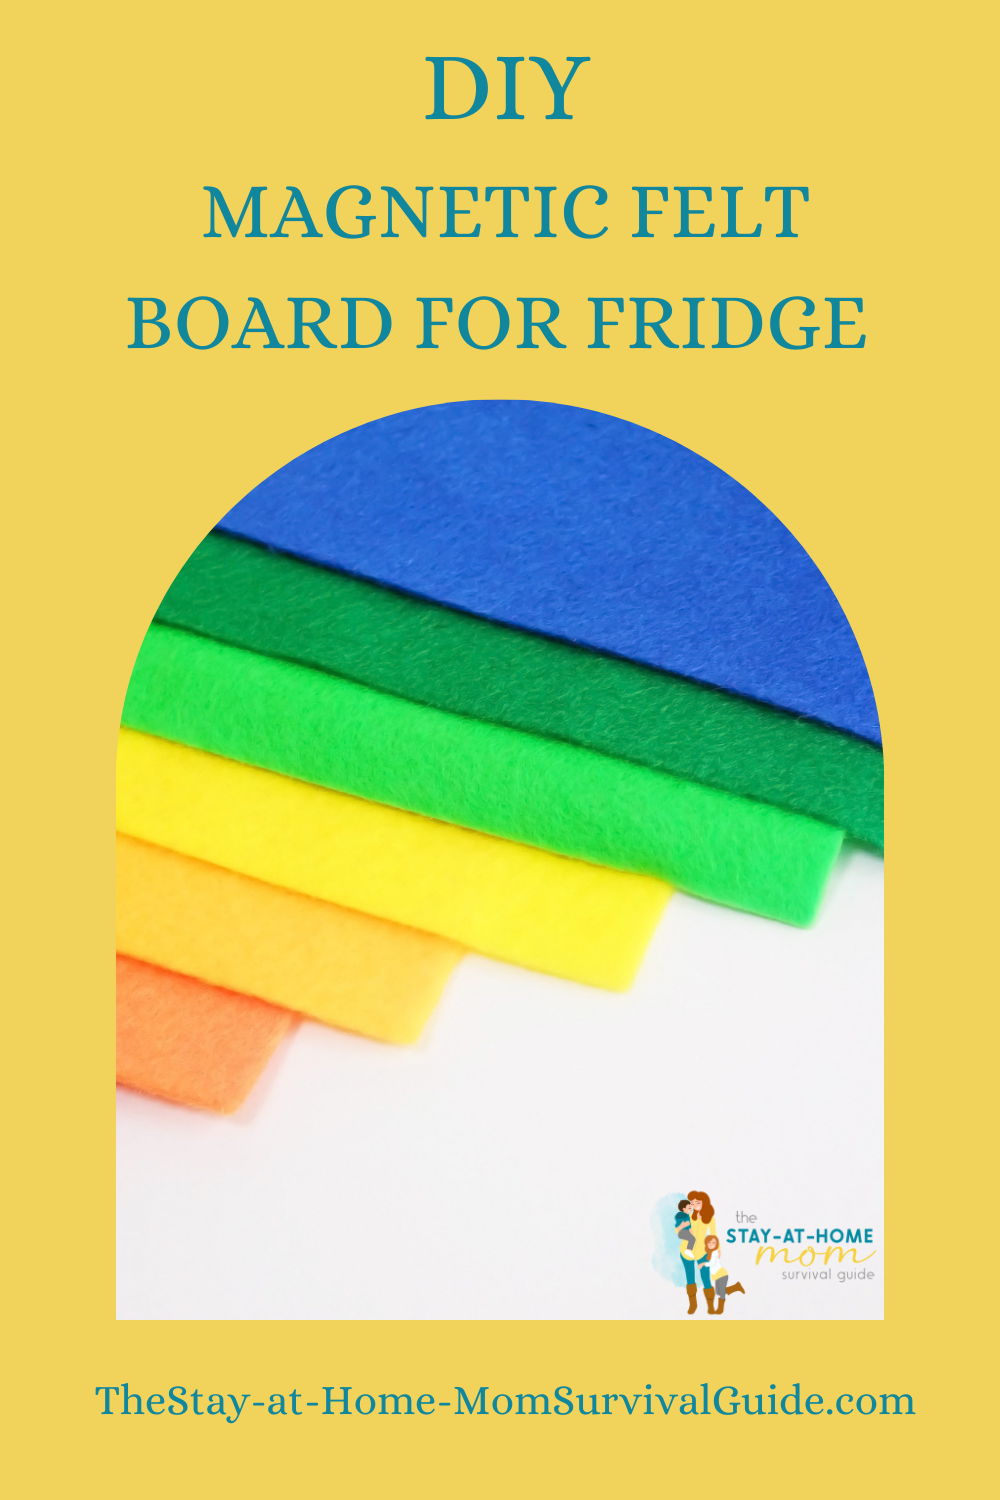
DIY Magnetic Felt Board
Supplies:
brown paper bag or piece of poster board
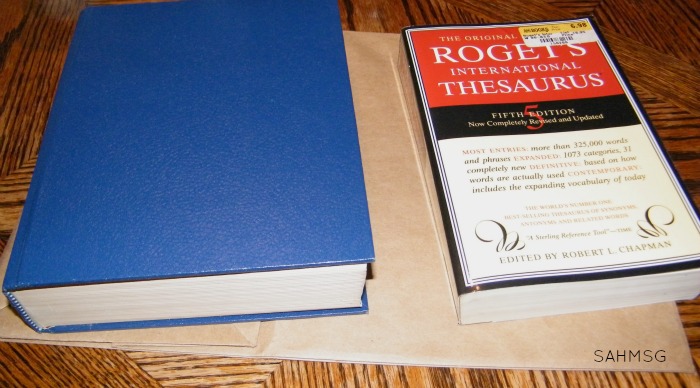
2 heavy books (to use as weights)
1 piece of felt cut 2 inches larger (on all sides) than the paper bag

Making the DIY Magnetic Felt Board
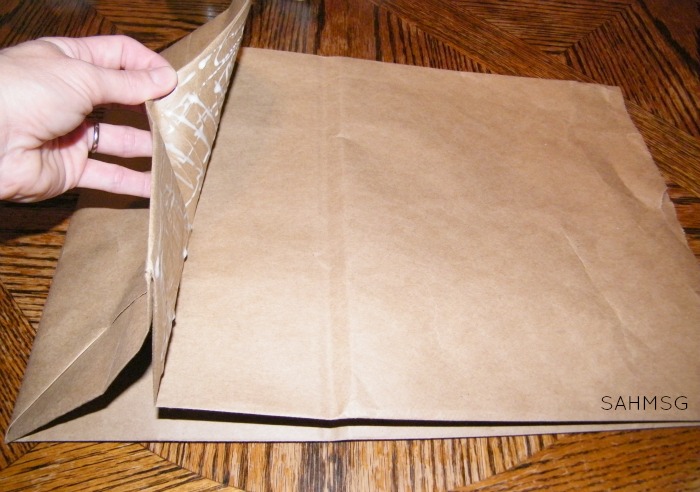
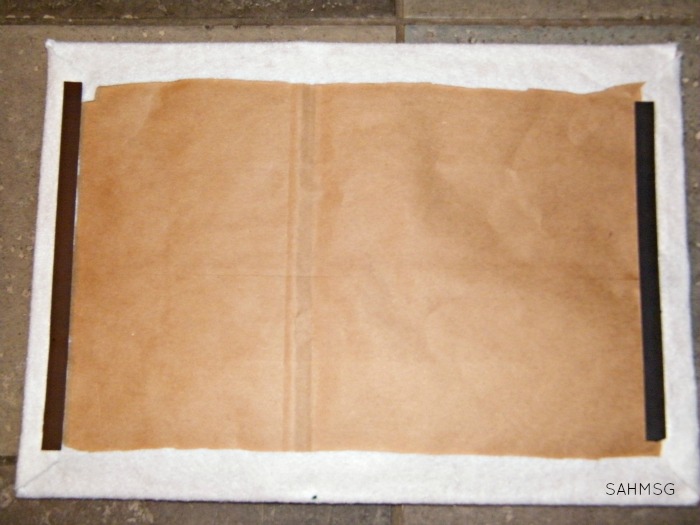
Step 1) With the brown paper bag folded flat, place some white glue under the bottom flap, between the two long sides and just under the two sides at the top of the bag. You are gluing the edges together to help add some stability and keep the bag together as one piece.
Step 3) Cut a piece of felt fabric slightly larger (1-2 inches should work) than the front of the bag. Lay the bag on top of the fabric.
Step 4) Run a bead of glue about 1/2 inch in from the edge of the paper bag. Fold in the edges of fabric like you would wrap a present trimming the corners so that the fabric lays as flat as possible. Remember this is the back, so it needs to be as flat as it can be, but doesn’t need to be perfectly trimmed!
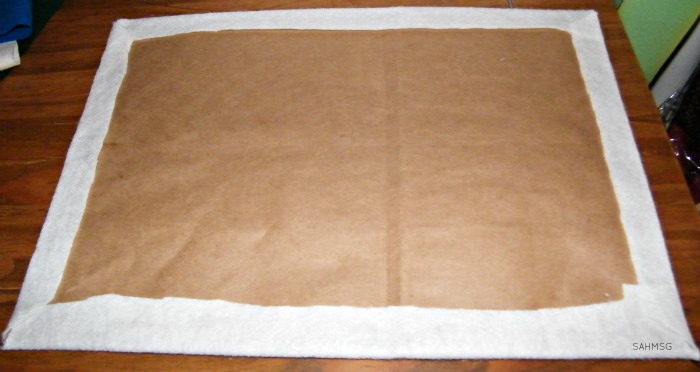
Step 4) Press and hold the edges of the fabric down so that the fabric adheres to the bag. Let it dry.
Step 5) Place the bag back side up. Using a role of magnetic tape, cut strips slightly shorter than two of the sides of the paper bag (as shown in the picture). Peel off the paper backing from the magnetic tape and press the strip of magnet along the fabric edge on the backside of the bag. (The magnet tape will be stuck about 1 inch in from the outside edge of the bag sides.)
Step 6) You are done! You have a portable, magnetic felt board. Try our other DIY toys for more learning fun that does not cost a lot.
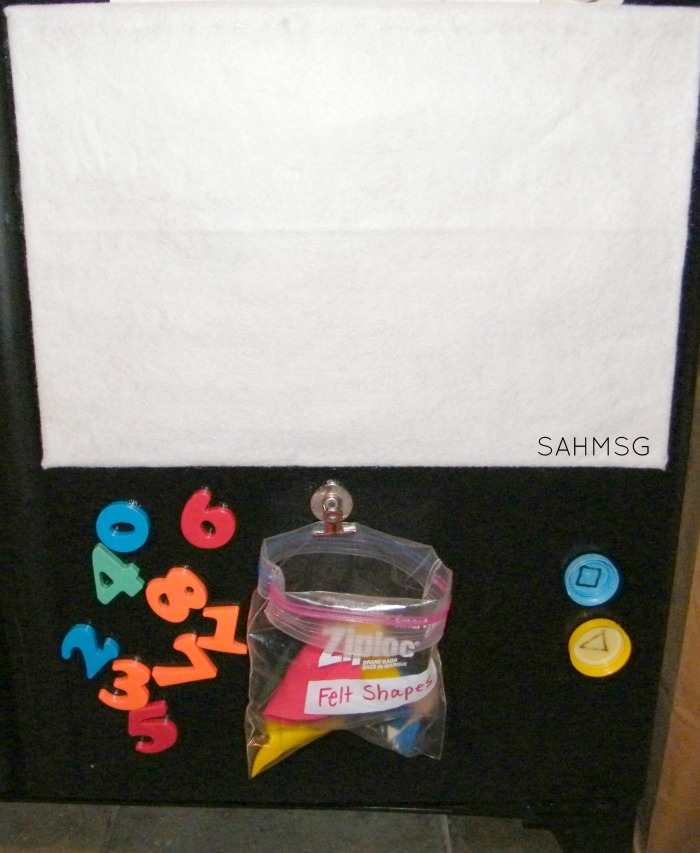
I stick mine on the front of the fridge with a baggie to hold felt shapes for play. We have had simple geometric shapes and pieces to make felt snowmen. You can use any free printable from sites such as Making Learning Fun to create felt board pieces. Simply color, cutout and laminate, then attach the hook side of velcro to the back of the piece. It can now be stuck to the felt board.

Even toddlers can play with the felt board. You can cut out different sized circles from scrap felt, or a variety of different shapes. Even the letters of their name, animal cutouts, or different colors can be explored.
Follow the SAHM Survival Guide:
Subscribe by email to receive weekly updates and free access to subscriber-only tips and tools. You can also join me over on Youtube, Facebook, Instagram, Pinterest, X, LinkedIn, or our private Facebook group.


Hi Jaimi, going to do this awsome activity.. I have a doubt, what’s the thing that’s holding the ziploc bag to the fridge? Sorry for my little knowledge!!
It’s a paper bag that has two long strips of magnetic tape on the back holding it to the fridge. Hope that helps! Have fun. 🙂
No, not about the actual project. What’s holding ziploc bag to the fridge and how?
BTW, made this felt board. It’s super easy. Thanks for the idea!!
Oh, sure! A magnetic clip is holding the baggie to the fridge. I’m so glad you liked the project!
Great ideas! Thanks for joining in with #frugalfamilylinky!
Thanks so much, Helen. I appreciate you stopping by and taking a look.
This looks even easier than the one I made using a cork board and felt! Very creative! #FrugalFamilyLinky
It was really nice to have it be so flexible and lightweight. Essential in our kitchen with so many little ones wanting my attention. 🙂 Love it! There are so many ways to make these aren't there? It's so fun to see all the creativity.
Great idea for keeping little hands busy!
Thanks, Alison! It is a great addition to the fridge-and kitchen-to keep those little hands busy so I can prep dinner a little bit easier.
OK, our fridges could be twins (minus the fabulous) felt board. 🙂 What a great idea! Thanks for sharing!
Ha ha! The front of the fridge can end up being so kid-focused, can't it? Thanks so much for the nice comment about the felt board. I appreciate you stopping by!
great idea…its sooo cool!!! Jaimi does a piece of caedboard work instead of brown paper?
You certainly could use a piece of cardboard, but be careful if you want the finished felt board to stick to the fridge door. The cardboard may not bend around the front of the door (some fridge doors have a slight curve to them) or it may be too heavy to stick with the magnetic tape. Worth a try, though! Thanks for sharing your thoughts.
I love this idea! I have a bunch of magnets in the drawer and a pile of brown paper bags too. I think I'll try it!
Becki, that is awesome! I hope it is a hit in your home. All the best!