Paper bags are a craft supply that every home with kids needs. You can create so many projects and DIY toys with them. One idea is making robot paper sack puppets. But, for the activity I will cover today, we are making dress up costumes or dress up vests. All you need is a paper grocery bag OR a cloth reusable shopping bag. Your choice.
Dress-up costumes can be pricey, but you can make your own at home! In fact, your preschooler or young elementary child can create their own dress up vests (with your supervision of course) to add their own personal creativity to the dress-up bin or closet.
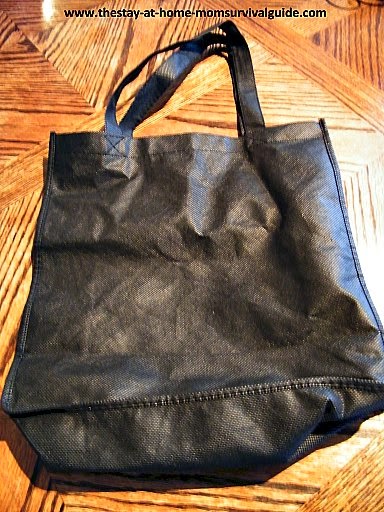
Here are the steps for turning reusable grocery bags into dress-up vests. (If you don’t have the reusable bags, you can use plain old paper bags. Don’t use plastic shopping bags due to the suffocation hazard.) Homemade costumes are a great way to let children explore their creativity. This homemade lego costume is a fun one to try too.
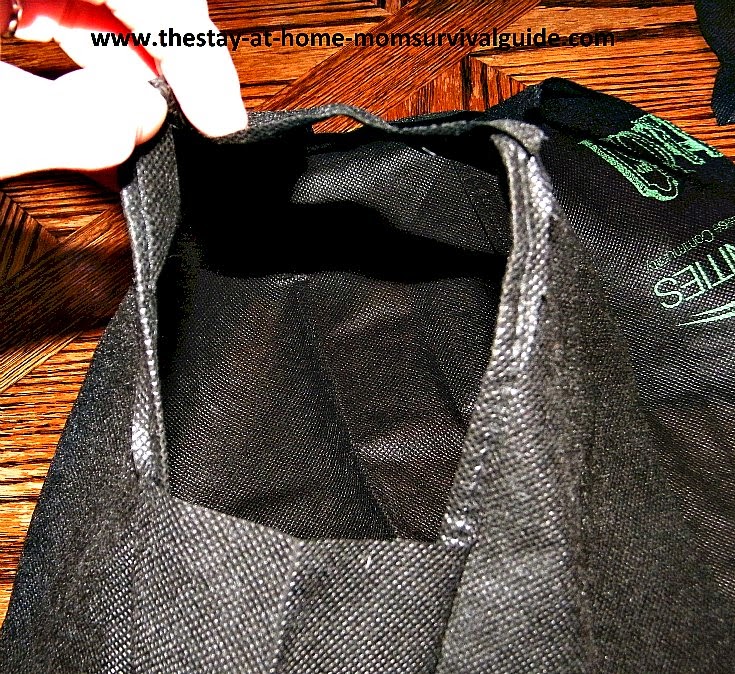
1) If there is print on the bag, turn the bag inside out.
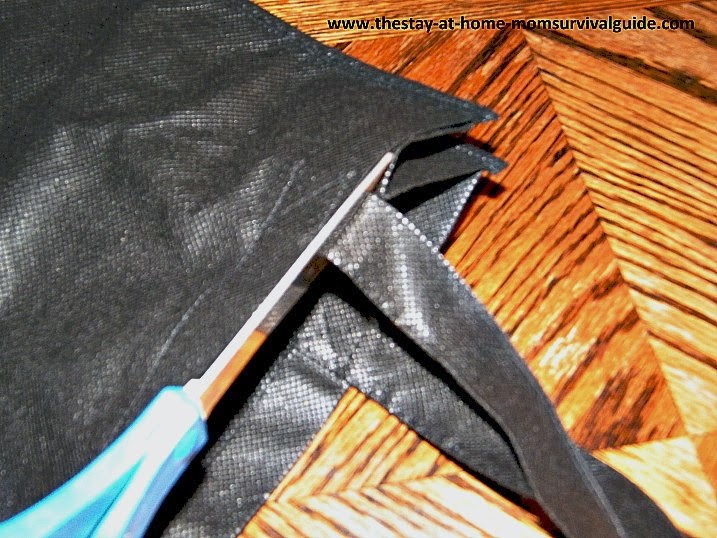
2) Cut the handles off of the bag by cutting just at the point where the handle meets the top of the bag.
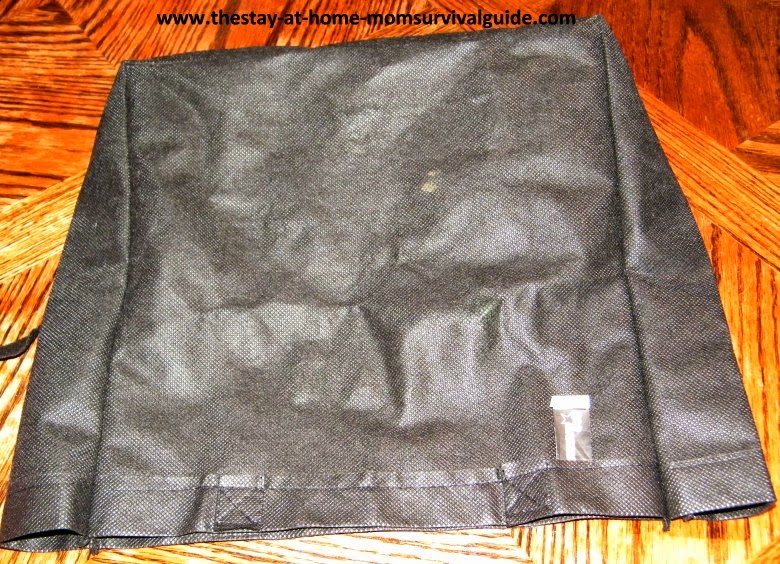
This is what your bag should look like now with the handles removed.
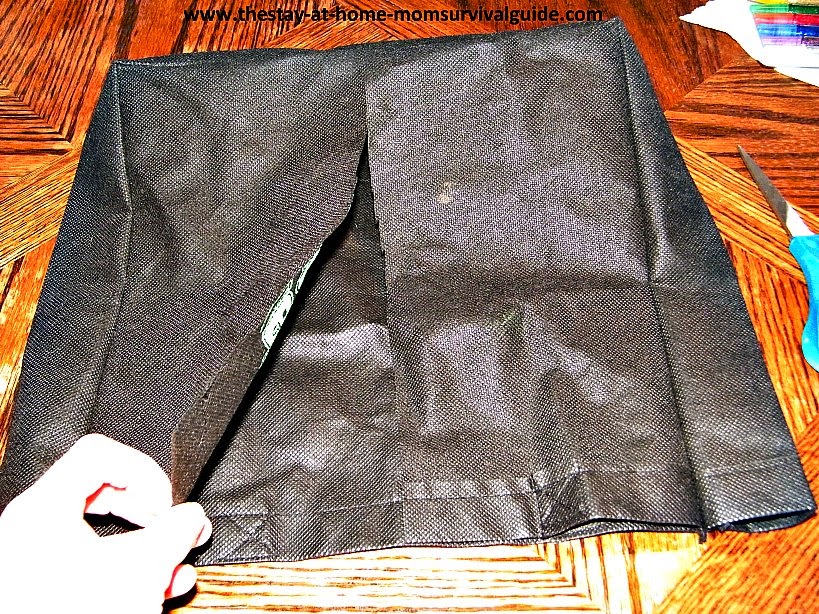
3) Cut up the front of the bag at the middle. Stop at the top crease as shown in the picture.
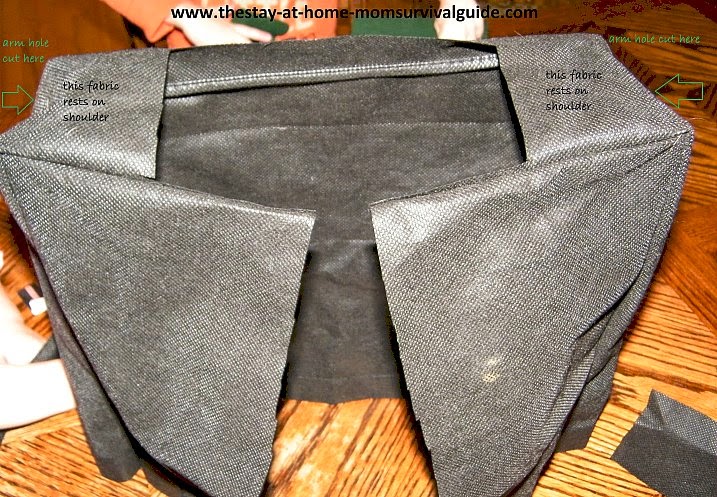
4) After cutting up the middle (which will be the front of the finished vest), you need to cut an opening for your child’s neck. Leave some fabric to rest on top of their shoulders so the vest does not fall off.
I cut a rectangle out of the top (as pictured below) leaving some fabric on the edges. You can even cut a smaller rectangle than this-mine was a little too large.
At this point, you can see the basic vest taking shape!
5) In the picture above, at the green arrows, pinch the fabric to cut the beginning of the arm hole on one side. Just cut on the sides being sure to leave the fabric that was at the top to rest on the shoulders.
In the picture, the areas labeled “this fabric rests on shoulder” need to stay. So the top of the arm holes will be where the arrows are pointing.
This is what the arm hole will look like when cut out:
6) Place velcro dots or squares at the opening of the vest so it can be closed to stay on while being worn (if desired). If you would like to sew on small pieces of velcro, buy the ones that do not have a sticky back.
Then you can sew a couple of stitches through the velcro to secure it to the bag.
You could also cut small holes down the front and loop long shoe laces through the holes for lacing and tying practice.
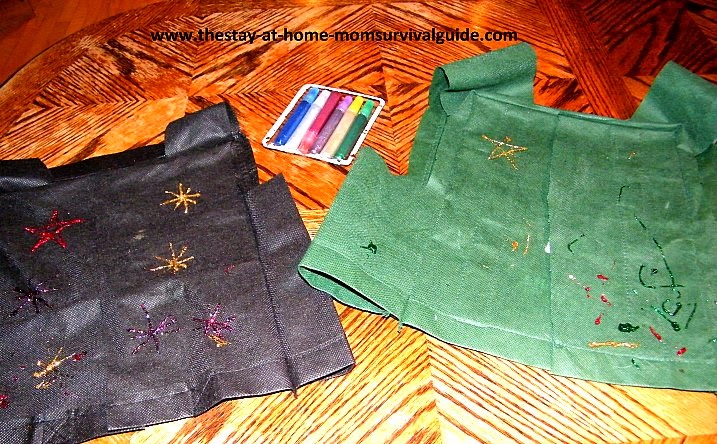
6) Time to decorate with glitter glue, fabric paint or acrylic paint!
Wear a paint shirt or smock because the glitter glue and fabric paint will not come out of clothing when washed.
Both my toddler’s vest on the left and my preschooler’s vest on the right were decorated based on their own creativity-and my help. These could be made for any imaginary play: police, fire fighter, teacher, doctor, etc. You could make some for your children with specific symbols or lettering.
Enjoy the new additions to your child’s pretend play!
Hi there! Welcome to my little corner of the internet. My name is Jaimi, and I am a mom who loves to encourage other mothers in the season of raising children, making a home, and staying focused on the end goals of motherhood.


Trackbacks/Pingbacks