Creating our geology learning unit was a way to create learning activities that worked for multiple learning and age levels. Older elementary age kids to high school age kids can use this dinosaur layers geology timeline activity for enrichment. For the younger kids, I just worked more closely with them.
The experience of a challenging activity is still beneficial for kids. Not everything needs to be easy for them. They can learn so much in a group learning setting with older siblings.
For older kids, you can add on this Dinosaurs Unit Study for Middle to High School. Our kids really love the topic of dinosaurs, so gathering them together for this unit was really fun.
This dinosaur layers geology timeline activity combines geology with paleontology. Kids are fascinated by dinosaurs and rocks, so the combo is an engaging one.
Dinosaur Layers Geology timeline
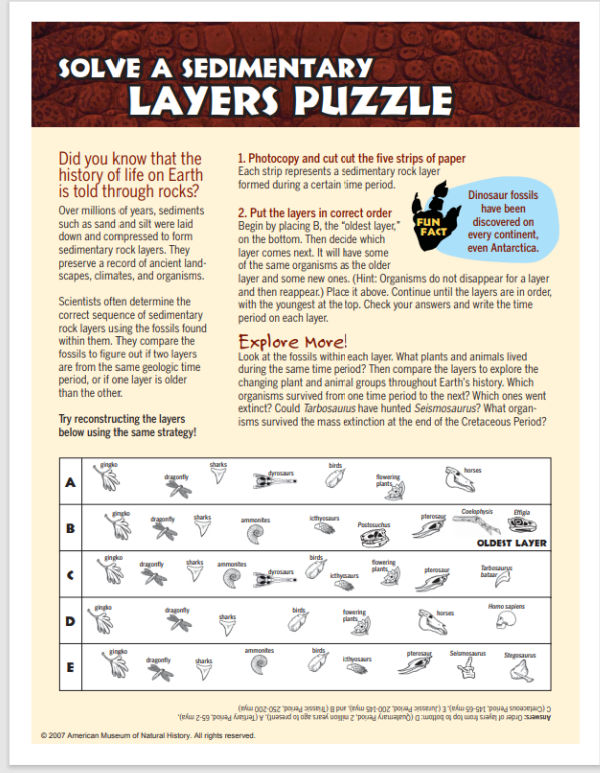
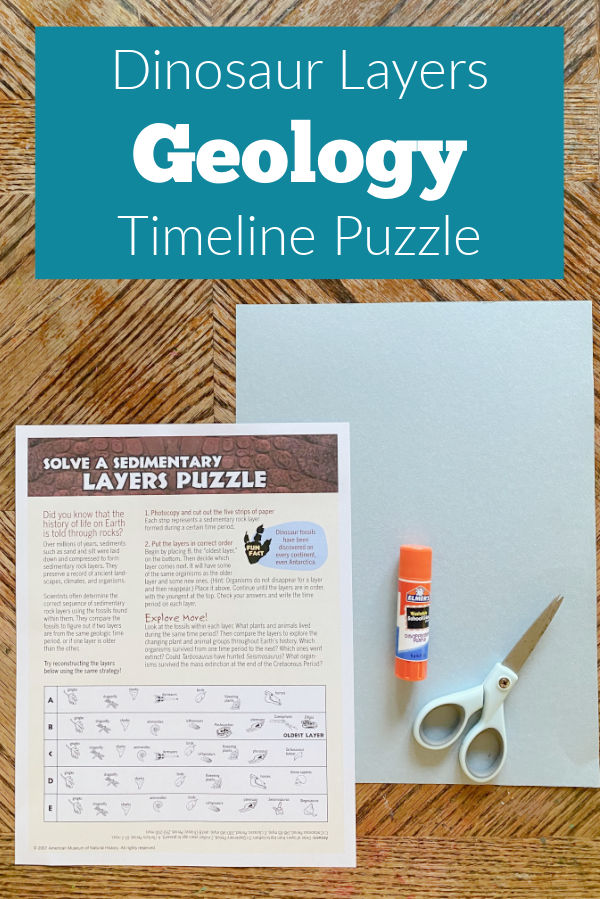
I found a free printable worksheet over on the American Museum of Natural History to help us practice mapping out the dinosaur layers geology timeline. It was a great add on to our geology homeschool unit.
The worksheets were free to print. We turned them into a hands-on activity. And, the activity can be done by one child or in a group learning setting.
If you are studying geology in your classroom or just want an indoor activity for your dinosaur-loving children, this is a great one.
Activity Set Up
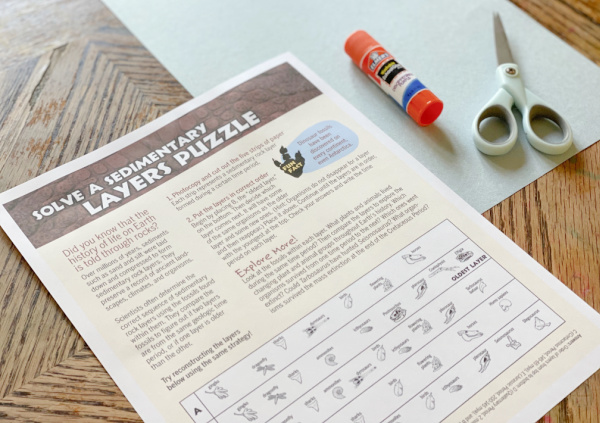
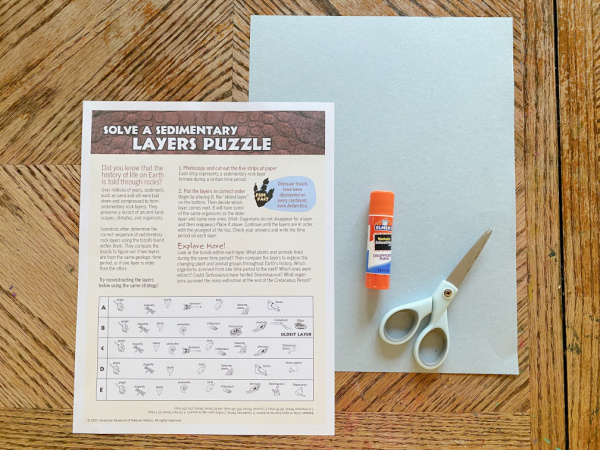
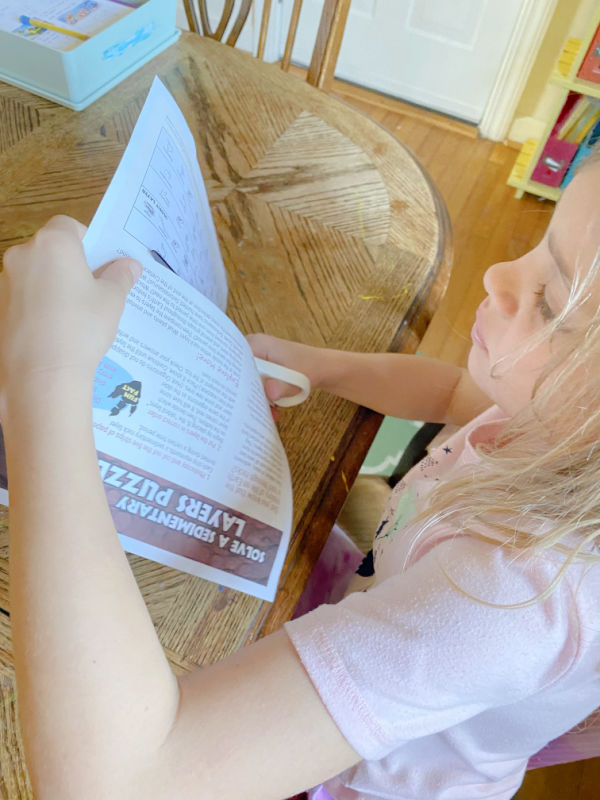
Step one is to print out this worksheet.
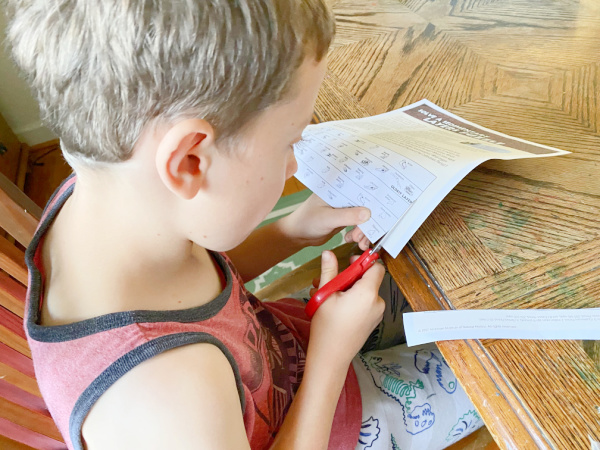
Step two is for each child to cut apart the strips as shown.
This activity is best for children from 3rd grade to high school. (If you have younger kiddos participating, try this free dinosaur lapbook. It will be more on the level of preschool to 2nd grade kids.)
Step 3 is to use the strips as a puzzle.
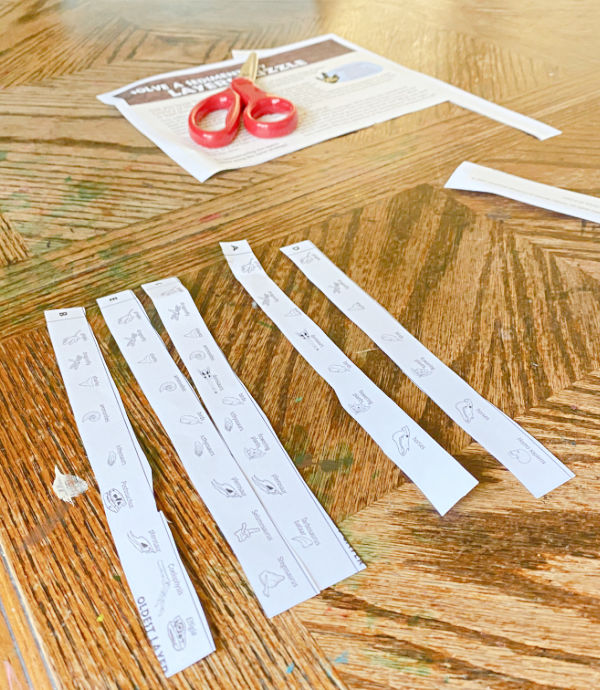
The goal is to match the layers of rock (strips of paper) and put them in order. The guide helps you be Indiana Jones, or Dr Grant from Jurassic Park, to fit the layers together. Your child will do this based on which fossils they see in each layer.
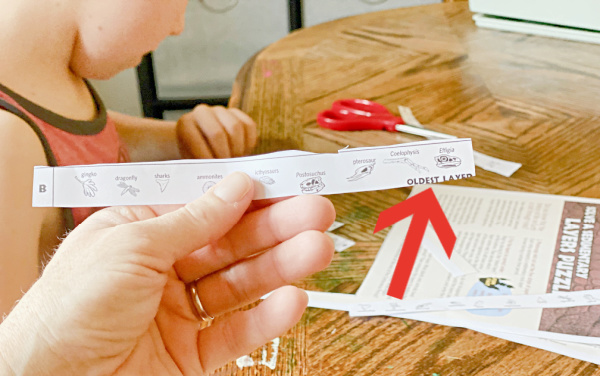
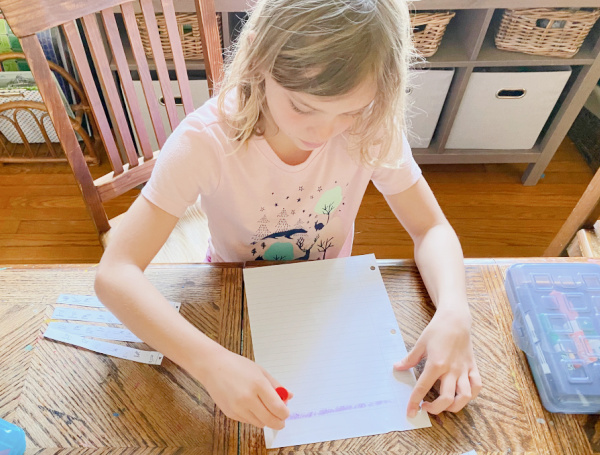
The first layer is noted as the “Oldest Layer.” Shown with the red arrow in the photo below.
Place the “Oldest Layer” strip at the bottom. Then look for matching fossils in the layers to determine which layers come next. You stack each layer above the last.
It is a little tricky! I had to rearrange my paper strips a couple of times. 🙂
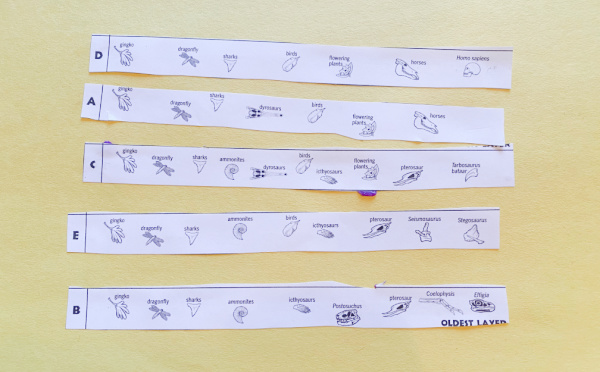
Where there are matching creatures, you know the “rock layers” will touch on those edges.
This was definitely a little challenging for my younger kids. The older ones were pretty independent with it though.
I had the kids first match up their paper strips. Then they glued the strips onto construction paper.
Playing geologist/paleontologist was a great social studies activity to learn about what geologists do to map the rock layers. This is a really hands-on dynamic learning activity.
>>Check out our other Geology activities for kids here. There are more activities to come in the learning series.<<
Do your kids like dinosaurs and exploring rocks? Try this activity and let us know how it goes by leaving a comment below.


Trackbacks/Pingbacks