This post contains affiliate links. Please see my disclosure.
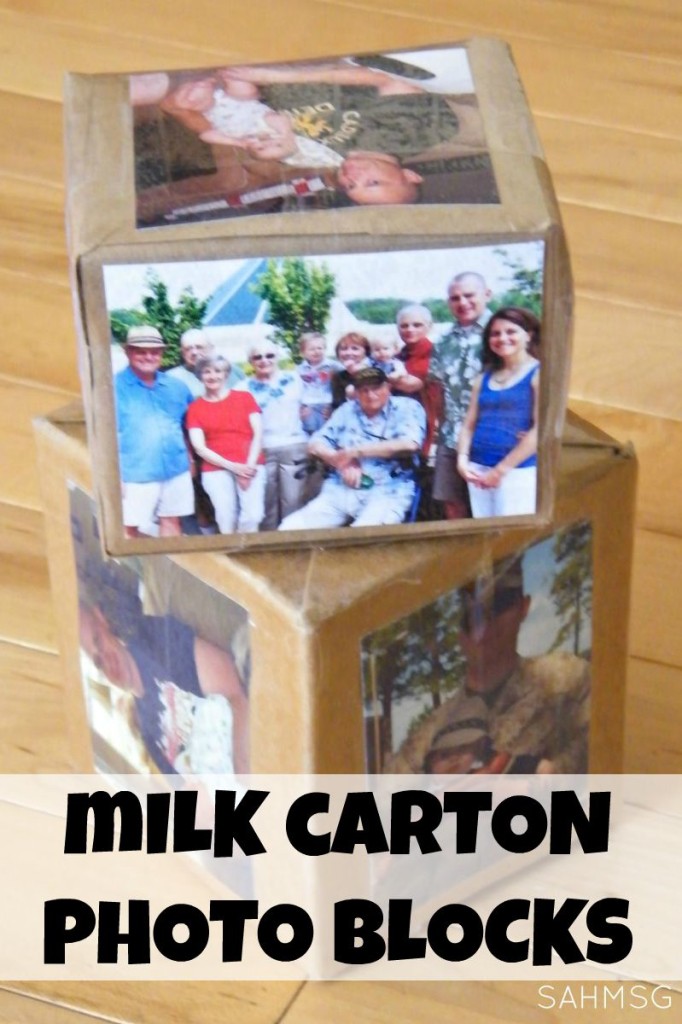
These are fun! I originally used this idea of creating DIY photo blocks when I was working in the infant room in a daycare center. It was on a military base, and with the parents (most often the dads) traveling a lot for work, we made these blocks with the children’s family photos so they could see their family during the day while they were in our care. I made my own when my oldest son was just a baby and my husband was deployed. It was a simple way to play and “see” Daddy even when he was away.
Even if your family is not far away, these DIY photo blocks are a great way to add some interest to your child’s building block play. They are simple to make too!
Supplies Needed to Make DIY Photo Blocks:
-6 photographs (printed in wallet size)
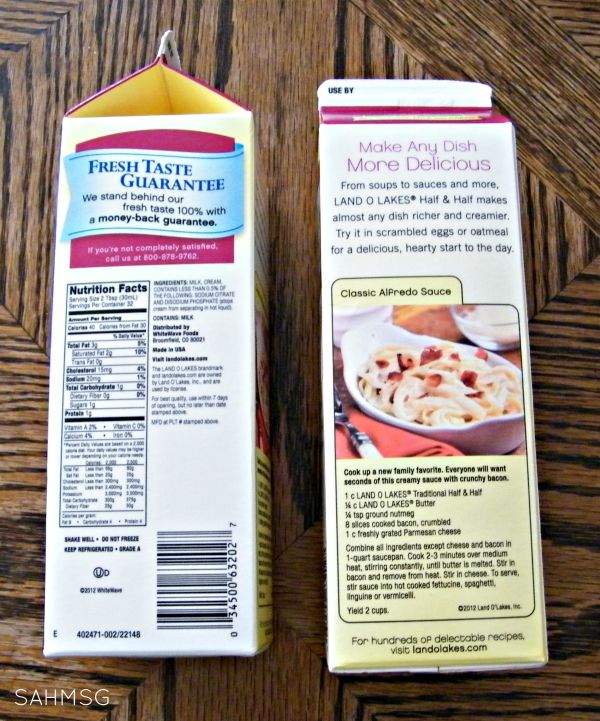
-quart-sized milk or juice carton (1 carton per block)
-scissors
-clear packing tape
-scotch tape or masking tape
-wrapping paper (I used brown, but any color you have will work)
Directions to Make DIY Photo Blocks:
1. Make sure your cartons are clean and dry. I rinsed mine out with hot soapy water a few times.
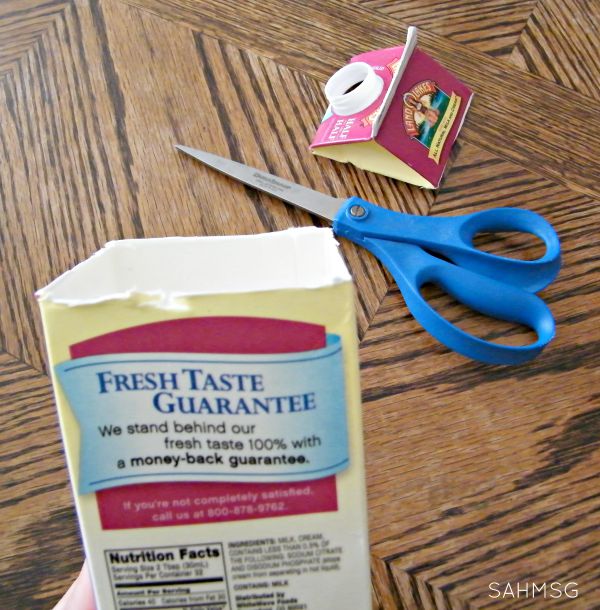
2. Cut off the very top along the top most crease of the carton.
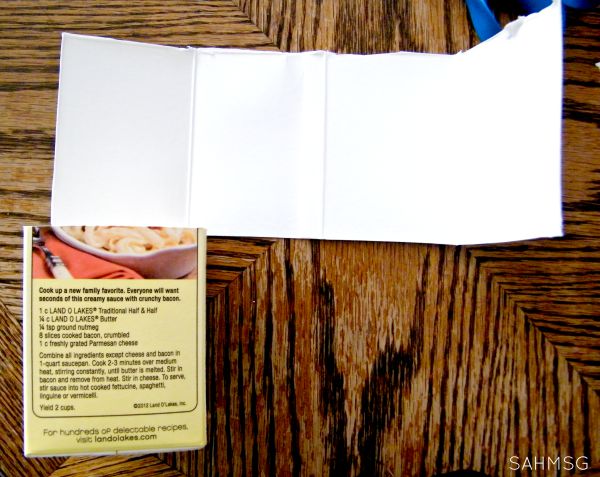
3. Cutting up the open end of the carton, cut half way up one corner.
4. Turn the scissors and cut around the carton perpendicular to the side cut. You should cut through only 3 sides.
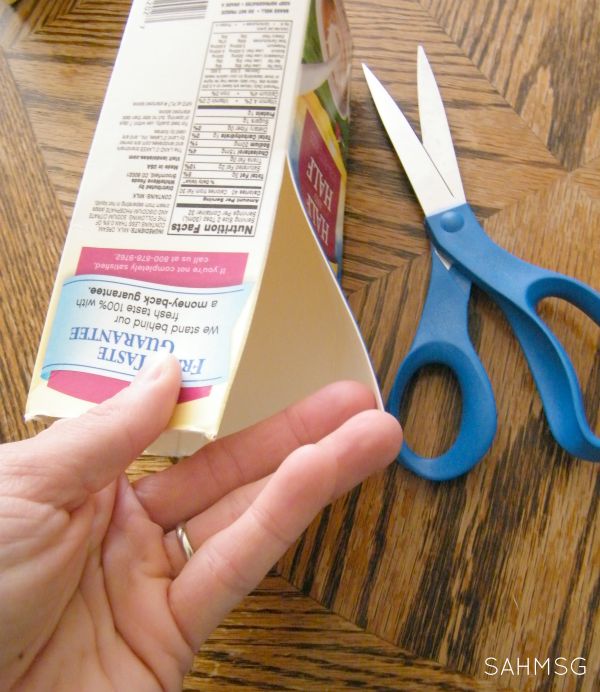
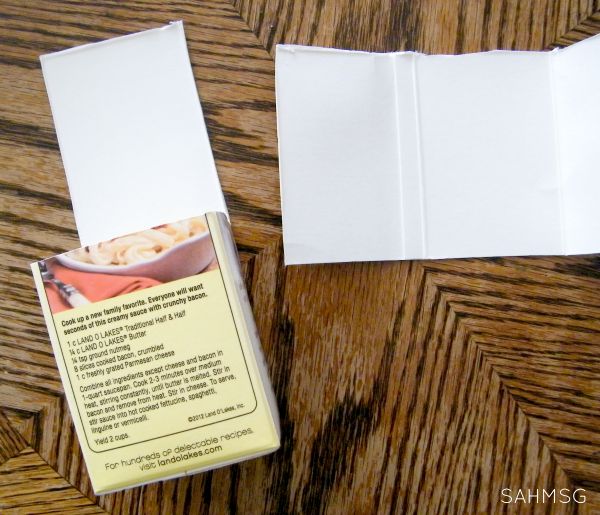
5. When you have cut through the 3 sides as shown, cut up the crease to leave the fourth side on the box.
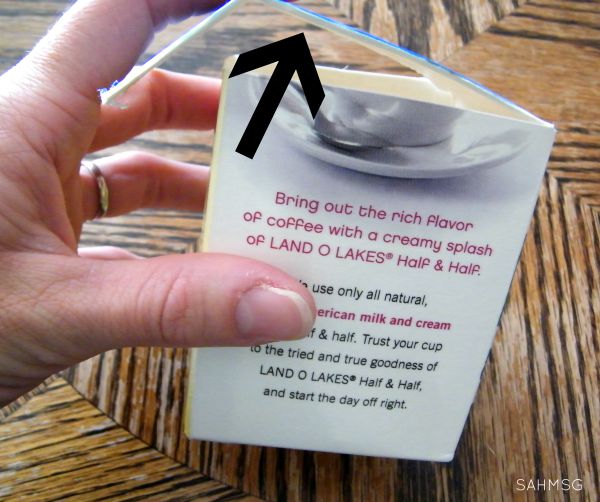
6. Fold down the remaining side to create a top to the box. Fold over any overlap.
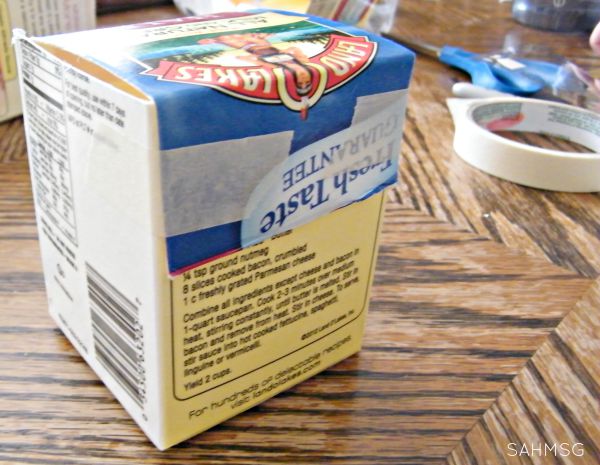
7. Using two pieces of scotch tape or masking tape, tape down the flap to close the box and make a block.
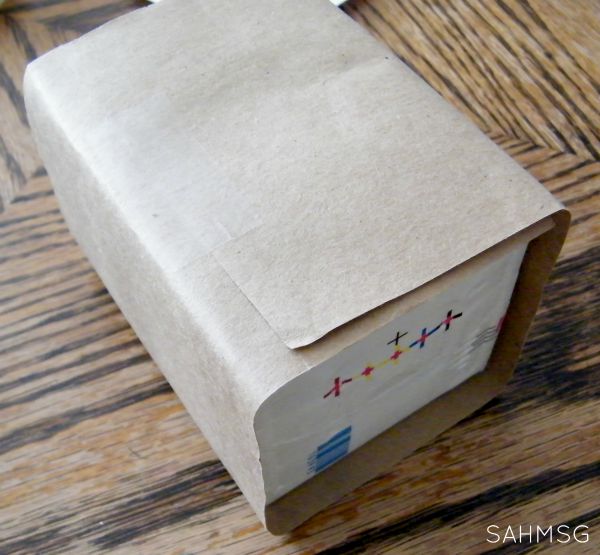
8. Wrap the block with your choice of paper. I chose brown because it was plain and added some additional support to the box.
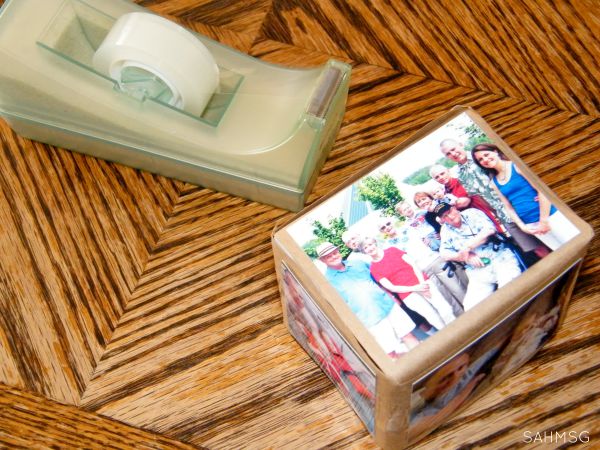
9. Using clear tape, tape your family photos to the sides of the block. You may have to trim them down to fit. I used two small pieces of scotch tape per photo. (You can use glue for this.)
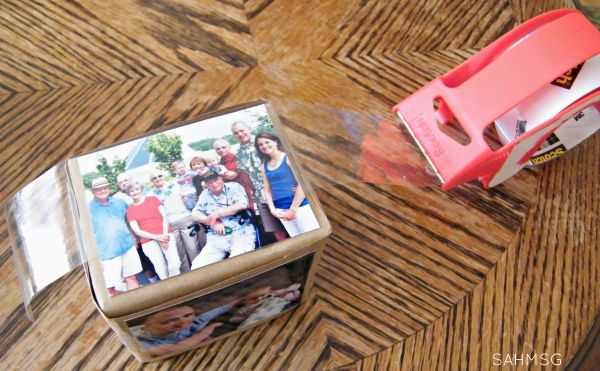
10. Using the packing tape, wrap the block with strips of tape until it is completely covered on each side. (Clear contact paper can work too.)
This helps protect the block and your child. Any drool or wetness will cause the ink of the photos to run, and since infants and many toddlers put many items in their mouths, it is safer for your child to avoid getting ink and pieces of paper in their mouth.
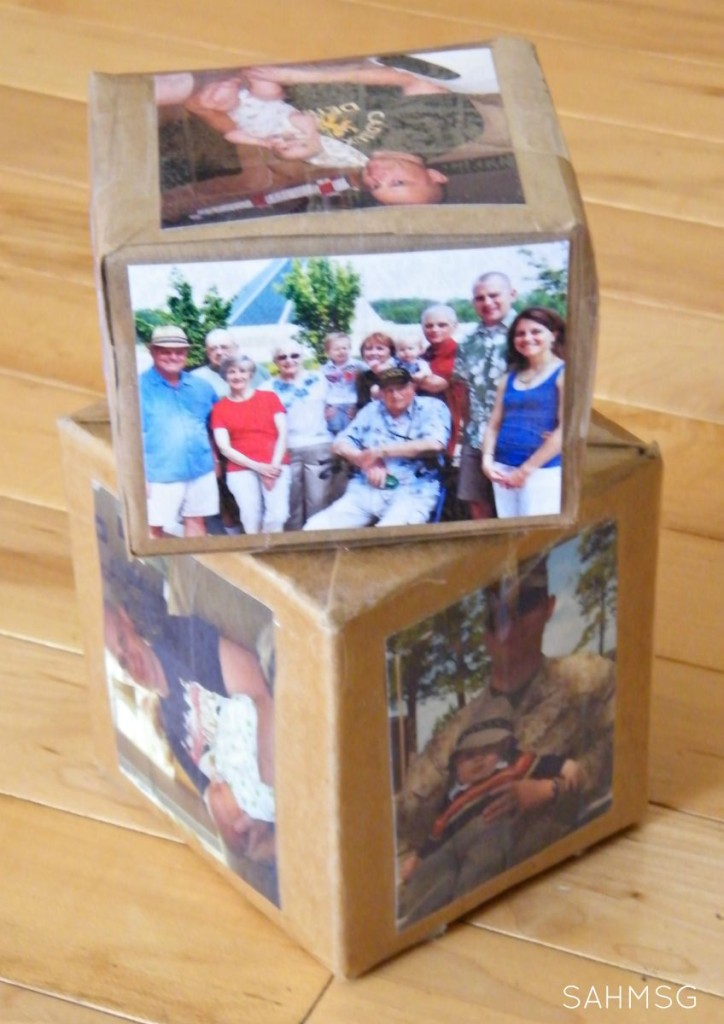
11. Once your blocks are complete, they are ready for play! This is a great building block for infants and toddlers because they are lightweight and larger in size.
I made one block with photos of my husband and son so he could “see” pictures of Daddy a lot. I made a second one for my oldest daughter with pictures of her and our family members who do not live nearby. It is still fun for the kids to this day to look at the pictures and see what they looked like as babies, as well as remind them of their extended family. I guess I need to make some for the twins! 🙂 We could make them with numbers, letters or even sight words for some homeschool preschool learning.
Have you tried making a DIY toy for your child? What ideas have you come up with? Share in the comments below.





This is such a neat and cute idea! I know my son would love making on of these photo blocks! Thanks for sharing.
Thanks so much, Jennifer!