
Are you a crafty mom or are you craft-challenged? Neither determines whether you are a good mom or a bad mom, but it can cause holiday times to be a bit stressful when you see the crafty moms are pinning to Pinterest like crazy! I admit, crafting is fun for me, but I tend to not do elaborately crafty activities with my kids. Time, money, and time (did I mention that already) are my main factors for choosing to keep things pretty simple.
It is fun to encourage kids to create and especially to give to others. Whether you make or buy Valentine’s this year, you are teaching your child to give and consider others, to love others. That is a win!If you are looking for a way to engage your child in making Valentines without having to be a crafty mom, I have an idea for simple DIY Valentine’s made by kids.
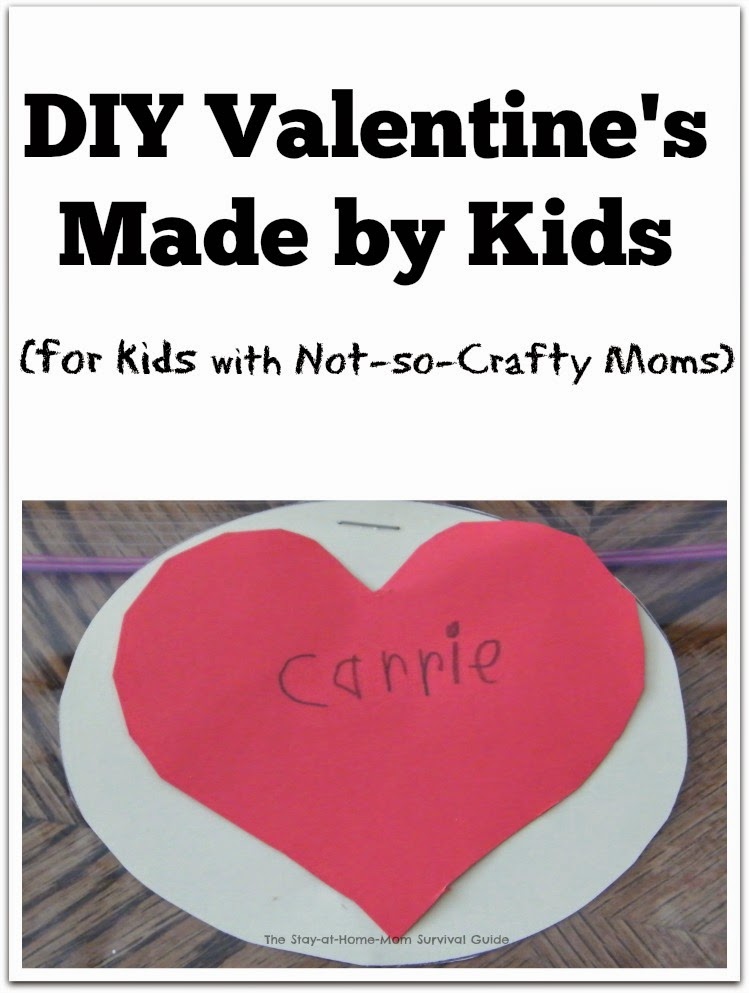
This activity is great for preschool and school age kids. It has countless ways it can be personalized and embellished to take it from simple (or plain) to fancy.No feeling bad not-so-crafty moms! I have shared this just for you…and any other crafty moms who just want the kids to make the Valentines, because we moms have enough going on!
DIY Valentine’s Made by Kids
(Looks like a lot, but I promise this is really simple!!)
–heart stencil, (you can buy one or make one from cereal box or cardboard)
–oval stencil, (same as heart pattern-make or buy)
–stapler (and staples, of course)
–ziploc bags
–pencil
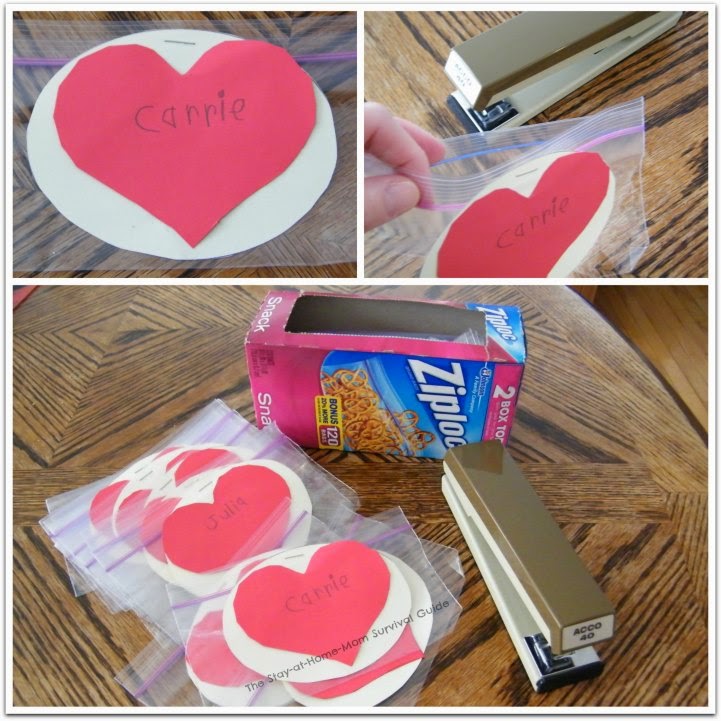
Trace hearts onto one color paper. (We used red.)
Trace ovals onto the other color paper. (We used cream.)
Have your child cut out the hearts and ovals. (If you are using plain white paper, your child can color the shapes to add some decoration.)
My son cut out every single heart and oval for his Kindergarten class when we made these. It was great practice with scissor skills.
It did take a few days to finish them all. He got tired so he worked on them a little bit at a time. If you help cut them out, it will go faster.
Write the names of those who will be receiving the Valentine’s on each heart-one name per heart. Great writing practice!
TIP: For a preschooler who may not yet be able to write names, you can write the name in pencil on each heart and have them trace over it with marker or even glitter glue. These pop up heart card ideas are a fun craft to try too.
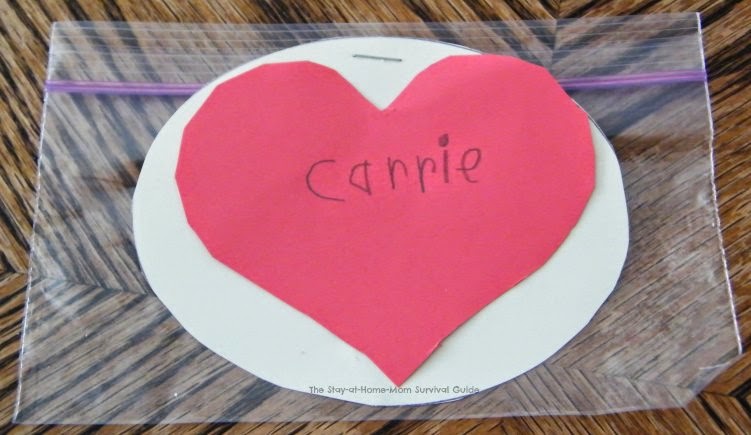
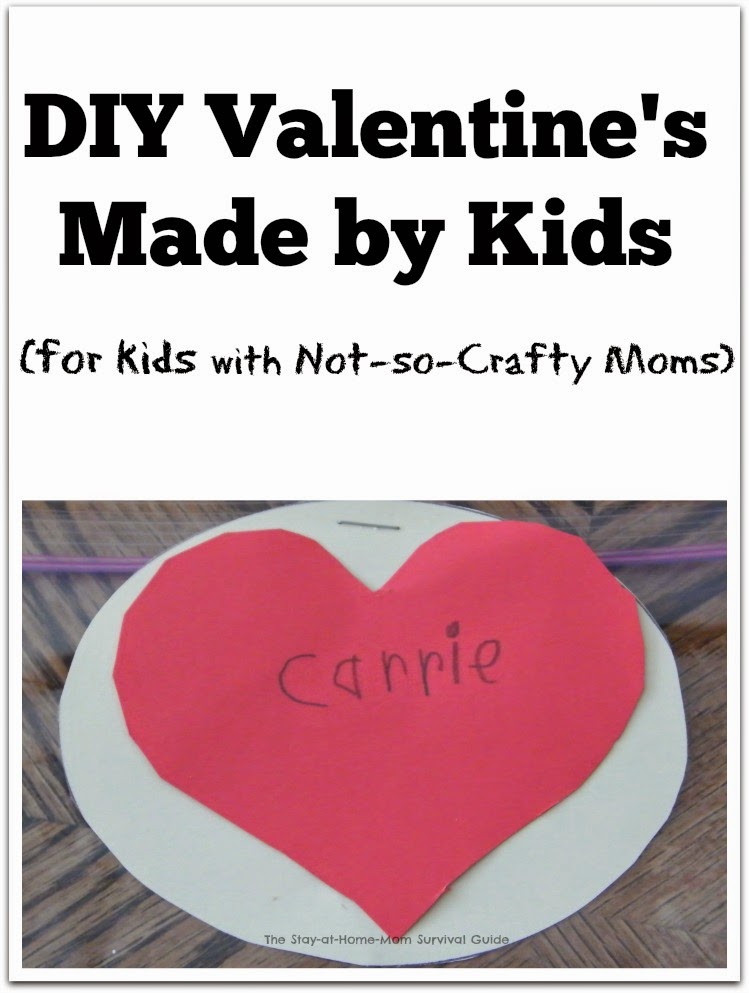
When all the children’s names are written on the hearts, glue the hearts to the ovals, centering the heart on the oval. Let the glue dry. These will become the labels for your DIY Valentine’s made by kids.
Staple each label onto a ziploc bag. Make sure the bag is open when you staple on the label.
At this point you can get more elaborate. Decorate the labels with fun stickers, glitter glue or puffy paints. (Completely optional.) These homemade Valentine’s cards for classmates are a great way to spread the love too.
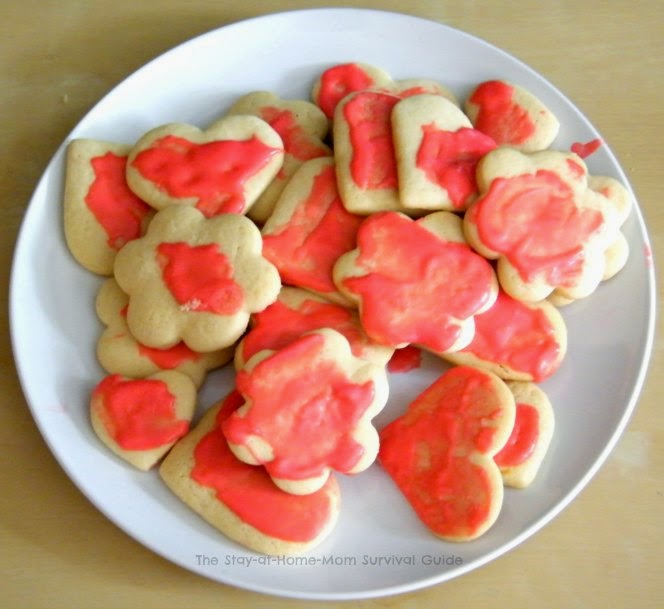
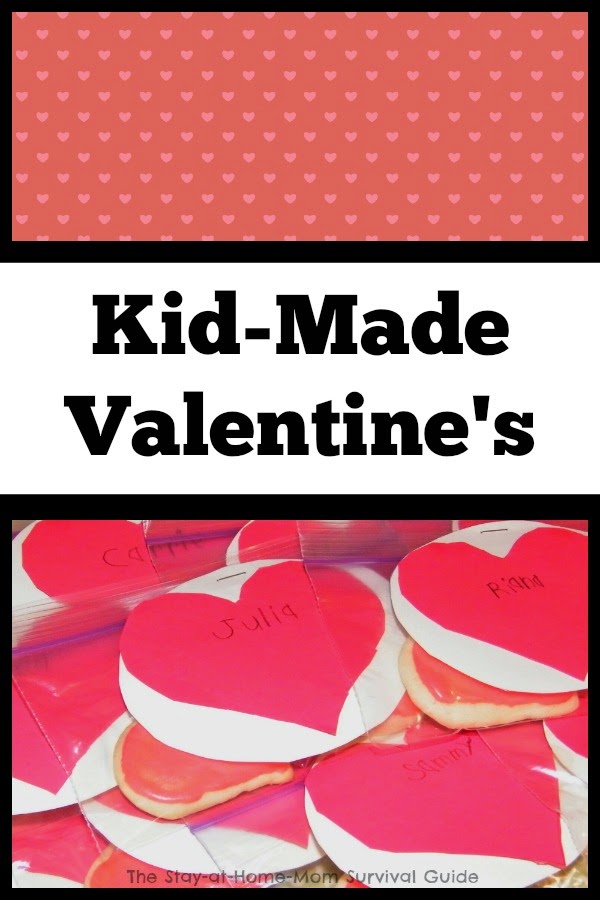
Then fill your bags! We baked and iced heart-shaped cookies and put them in DIY Valentine’s bags for my son’s class. It was a great indoor activity on a snowy day!
1.) A fun homemade activity in a bag shared at Buggy and Buddy.
2.) Bubbles! (Go for the Dollar Store mini bottles.) Great idea from My Sister’s Suitcase.
3.) Cute idea for girls shared over at The Crafting Chicks.
4.) What child does not enjoy batting a balloon around-try this simple idea from Love and Lion.
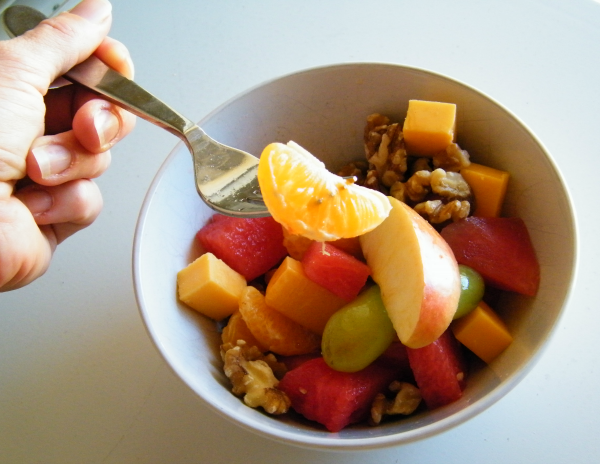
5.) Fill the ziploc bag with some crayons, stickers, pretzel sticks or a clementine.
6.) Even small toys from the Dollar Store can be a cute filler like this idea from B-Inspired Mama.
.
Was this non-crafty enough?
Kids get to work on scissor and writing skills, AND you still get to say you made homemade (very frugal) Valentine’s. You just might start feeling a bit crafty!
If this was still a little too involved, all the above blogs offer free printable Valentine’s. The point is to think about others and teach our children a giving spirit-no Pinterest-perfection needed!



The bag stapled on the back is genius! Thanks for this great idea.
Thanks so much, Melissa! It is a basic idea that can be personalized in so many ways which is my favorite kind of craft!
I love this! Crafts made by kids no matter how the finished product turns out is the sweetest. Just knowing their little hands and minds created it!! Thanks for sharing at our Share Day!
Thanks for the opportunity to share it, Susen!
Nice Tips you shared here and I really love it a lot.
Thanks so much! I am glad you enjoyed it.